| Series |
|---|
Team Mixing Light Note: This is part of a series explaining the fundamentals of DaVinci Resolve. This ‘Toolkit’ Insight is pulled from our DaVinci Resolve 12, 12.5 and What’s New in Resolve 14 Courses. The goal is to eventually build a ‘How To’ of Insights on Resolve’s core features directly in the Insights Library. These ‘Toolkit’ Insights will be collected into Flight Paths to create a quick-access video manual.
How to Use the Gallery and Memories for Comparing Shots and Copying Color Corrections
If you want to move beyond the basics of understanding DaVinci Resolve’s Color Page then you need to know how to use the Gallery. At first blush, it looks simply like a space you use to save reference stills to compare with other shots. In reality, it’s that – plus so much more!
This Insight also takes a quick look at a Gallery feature that can be completely overlooked, even if you’ve been using Resolve for years. That feature? Memories. Designed originally for colorists using Resolve’s $30,000 Advanced Panel, DaVinci Resolve gave Memories a set of keyboard shortcuts that make them useful for everyone else, too.
Table of Contents for this Insight
This Toolkit Insight has a running time over 20 minutes as it gathers movies from Mixing Light’s Resolve 12, 12.5, and What’s New in Resolve 14 training courses. I’ve also recorded a section at the end that covers a few more features that were added in more recent versions of Resolve. I’ll be following up this Insight with an additional movie covering a suite of Gallery options that have been added over the years to the Gallery’s contextual menu that we’ve never really covered in our training courses (or here in the Insights Library).
- :10 – Introduction
- 1:23 – Saving Stills and understanding how the Gallery is organized
- 2:30 – Creating and naming ‘Still Albums’
- 3:55 – Memories
- 5:10 – Using the Reference Wipe
- 7:05 – Grabbing, playing, wiping, and navigating stills using an external control surface
- 7:45 – Viewing still wipes on an external display
- 8:20 – Naming stills and copying color corrections from a saved still
- 10:00 – Appending corrections to the end of a node tree
- 10:25 – Copying corrections from Memories
- 11:15 – Using the copy and paste commands
- 11:50 – Exporting stills and color grades for sharing
- 13:50 – How the ‘one still per scene’ option can auto-organize your saved stills
- 15:32 – Understanding how Timeline Track corrections are saved to the Gallery
- 17:50 – Understanding how Grouped shots are saved to the Gallery
- 19:15 – Understanding how Timeline and Group corrections are copied to new shots
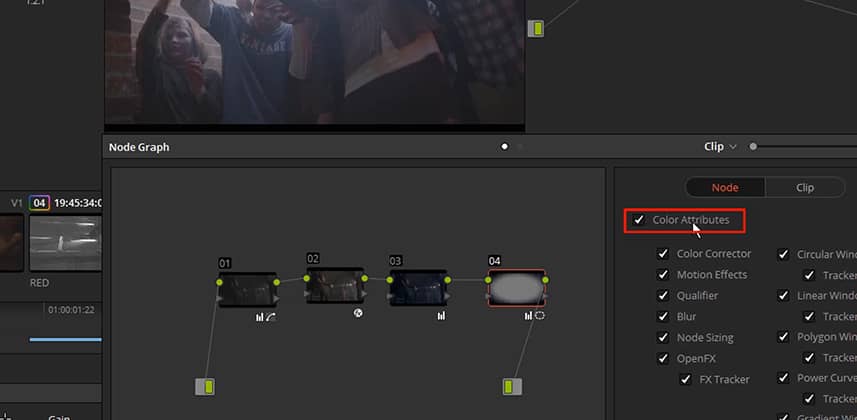
- 21:49 – Mastering the advanced options in the ‘Display Node Graph’ window for selective node copying
- 24:20 – Additional thoughts on importing and exporting stills in the latest versions of DaVinci Resolve
- 25:47 – Close
-pi
Member Content
Sorry... the rest of this content is for members only. You'll need to login or Join Now to continue (we hope you do!).
Need more information about our memberships? Click to learn more.
Membership optionsMember Login


