An Alternative Approach To Traditional Curves
A couple weeks ago, I was talking to an editor friend who is new to color grading. The discussion turned towards contrast and how the contrast in many films she watched always looked so much better than her own contrast corrections.
She had researched why this was (quality of footage aside), and had come across the term S-Curve and wanted to know more about what an S-Curve was and if I used them.
She went on to explain that she had been experimenting with S-Curves in her NLE, and while she liked what they did for contrast on shots, she didn’t like the time she had to spend drawing the curve.
As I was listening to her, I sat there with a grin on my face. Speed and being overly detailed with the curves to create the S-Curve look was something that I had experienced myself when I was learning the craft.
When I told her there was an alternative way to create an S-Curve that was quicker, she was all ears!
The Problem With Using Curves For Creating S-Curves
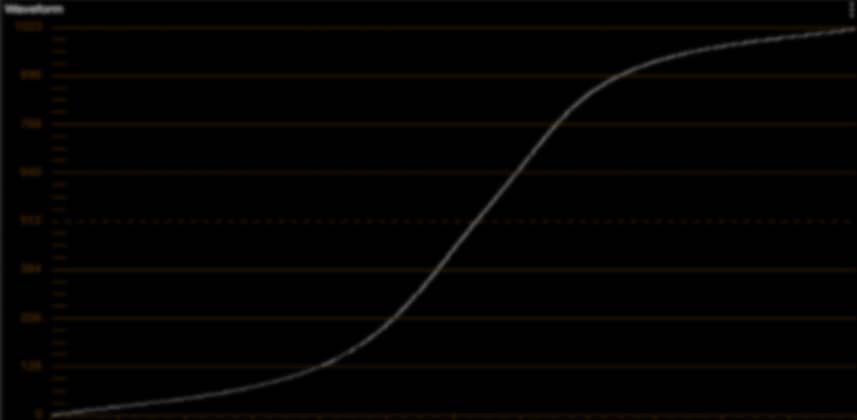
The traditional approach of creating an S-Curve of course is to use curves! The name is derived because the control points you add on a curve – make the curve look like an S. Indeed thats how the shot reacts too – shadows are dropped, there is roll off in the highlights and mid tones are fairly linear.
A ton of colorists I know rely heavily on curves for the bulk of their contrast corrections since they can be very granular and detailed about how they shape contrast.
Well, I’ll just come out and say it – I’m not really a curves guy! While I use them of course, I really only use them for super-detailed work. I seldom use them to paint broad strokes when it comes to contrast on a shot.
Why?
Too slow!
I work on a lot of long form projects and creating an S-Curve on hundreds or thousands of shots as the primary way to adjust contrast is just way too slow. Plus, since I’m a little OCD, I know that instead of just two or three control points I’ll use 6 or even 7 to tweak the curve – thus wasting a lot of time.
Of course, you can safe a curve off in a still or a PowerGrade, but I still find that even after I apply that still or PowerGrade I’m tweaking the curve on a shot by shot basis.
A Faster Way To An S-Curve With Contrast & Pivot
Contrast and Pivot are a bit of an enigma to many new colorists or colorists that have always relied on the lift/gamma/gain approach to setting and adjusting contrast.
The Contrast control in Resolve, of course, lets you set the contrast. Reducing its value gives you less contrast and increasing its value gives you more contrast.
But here is the cool thing!
When you increase contrast using the Contrast control, it works in a non-linear way – bending the highlights and shadows. And as you’ll see in the Insight video, this adjustment creates an S-Curve!
Then by using the Pivot control, you can change where the center point of that curve is – giving you a ton of control of the overall contrast of a shot.
On many control surfaces the Contrast & Pivot controls are mapped to the panel – so instead of making a half dozen control points on a curve – simply adjust two knobs!
In my opinion, that’s a much faster way of working!
Member Content
Sorry... the rest of this content is for members only. You'll need to login or Join Now to continue (we hope you do!).
Need more information about our memberships? Click to learn more.
Membership optionsMember Login


