Day 16: 25 Insights in 25 Days Holiday Marathon
Creating LUTs In Adobe Photoshop
In a previous Insight, I showed you how you could quickly apply a LUT created in an application like Resolve or SpeedGrade quickly to an image or design in Photoshop.
This workflow is really efficient – design a look once and then apply it to print, web, and other design materials (at least the base look) with literally just one click.
Recently, this work flow has flipped to allow exporting LUTs from Photoshop (requires the 2014 release).
Now users of Photoshop can export and hand off to you, the colorist, a look that they’ve developed.
If you’re anything like me you’re used to being the person that distributes color and contrast i.e. LUTs to other members on your project team.
The truth is, there are a lot of designers, VFX people and motion graphic designers that do a hell of a job when it comes to color grading – so, why not use their work?
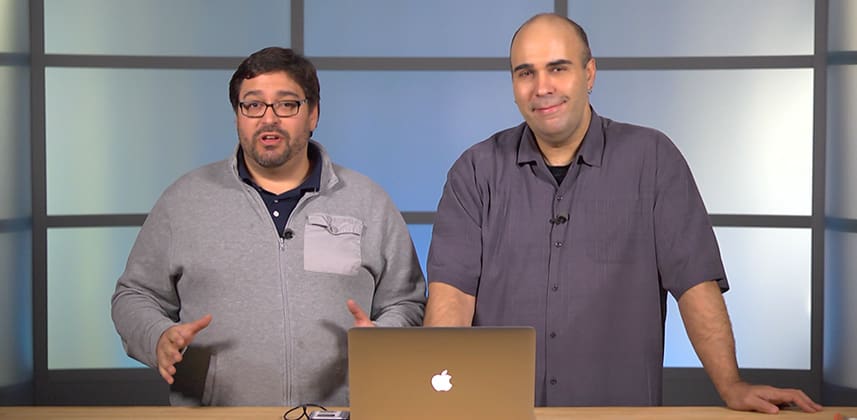
With the help of special guest Rich Harrington, let’s explore creating LUTs from Photoshop for use in other applications like Resolve, SpeedGrade, Premiere Pro and any other application that supports Look Up Tables.
A Few Notes On Workflow
As Rich discusses in this Insight, there are really two ways to get over to Photoshop – open a video clip or open a still clip.
From popular tools like Premiere Pro, Resolve or SpeedGrade exporting a representative is still probably the easiest way to go.
Why?
Well, when you open up a still, by default, it’s the background layer, which as you’ll see is important.
Additionally, using a still makes the default behavior of adjustment layers a bit more straightforward.
With that said, Photoshop can open up video files! The advantage of this workflow is that you get a clip you scrub through to see your adjustments, but there are definitely some ‘gotchas’ that Rich will show, which are important to note including:
- Removing clipping from adjustment layers
- Creating a true background layer
After working around some potential pitfalls in the workflow, you can easily export high-resolution LUTs in common formats like .3DL and .Cube, which of course will work in most apps including Resolve, SpeedGrade, and with the help of the Lumetri effect, in Premiere Pro.
As always, if you have any questions or additional thoughts to share please use the comments below.
-Robbie
Member Content
Sorry... the rest of this content is for members only. You'll need to login or Join Now to continue (we hope you do!).
Need more information about our memberships? Click to learn more.
Membership optionsMember Login


