| Series |
|---|
Part 2: Using Shared Nodes to apply looks and effects that depend on clip-level tracked power windows
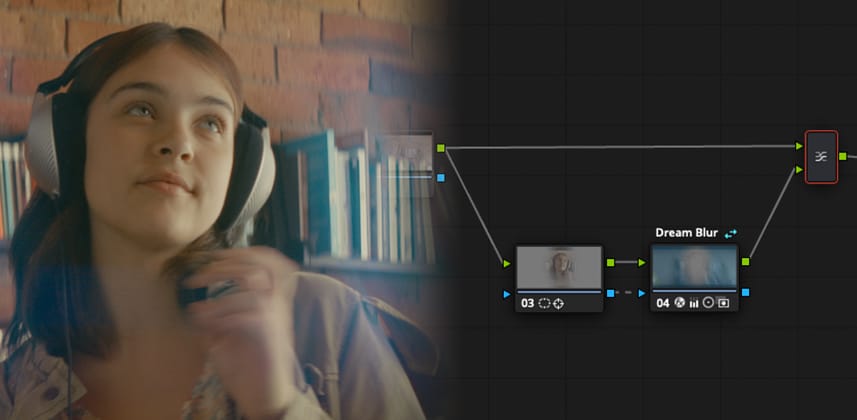
In the first part of this series we learned how to combine Shared Nodes and Group Grades to gain flexibility, efficiency and consistency across multiple groups. In this Insight, you’ll employ that concept as part of an innovative method for executing a Power Window-based look across multiple groups while maintaining a single, shared node for making client revisions. This method avoids the typical ‘ripple changes’ and ‘paste attributes’ operations, using Shared Nodes to apply a stylized look across multiple groups that are driven by individual tracked Power Windows on every shot.
Techniques covered in this Insight
- Creating shared nodes
- Using groups
- Applying shared nodes across multiple groups
- Combining shared nodes with Power Windows
- Separating Power Windows and tracking operations from color operations
- Layer mixers & blending modes
- Directional Blur OFX
Footage
- Blackmagic Pocket Cinema Camera 6K Footage courtesy of Blackmagic Design
Related Insights
- Separating Your Selections from Corrections in DaVinci Resolve – Exploring why it’s sometimes useful to break selections like keys and windows out into their own nodes.
- Revisiting Resolve Grouping: Using Post-Clip As A Timeline Level Grading Alternative – An in-depth exploration of the general concept of Groups on the DaVinci Resolve color page.
- The Benefits Of Fixed Node Structures in DaVinci Resolve: Part 2 – Are you unfamiliar with DaVinci Resolve’s ‘ripple changes’ command? In this advanced workflow Insight, learn how to use it.
Comments and Questions?
Leave them below!
– Peder
Member Content
Sorry... the rest of this content is for members only. You'll need to login or Join Now to continue (we hope you do!).
Need more information about our memberships? Click to learn more.
Membership optionsMember Login


