Preparing your toolset is the key for productive color correction using the Lumetri toolset
The right tools make for much faster output. This is true for any task, whether in a woodworking workshop or a color grading suite. Here on MixingLight I’m covering color grading in Adobe’s Premiere Pro CC. This episode concentrates on the physical workspace of my color grading suite and how I set up the software to optimize that workspace. These tools have become the techniques I use for high-speed output.
Monitor Mojo
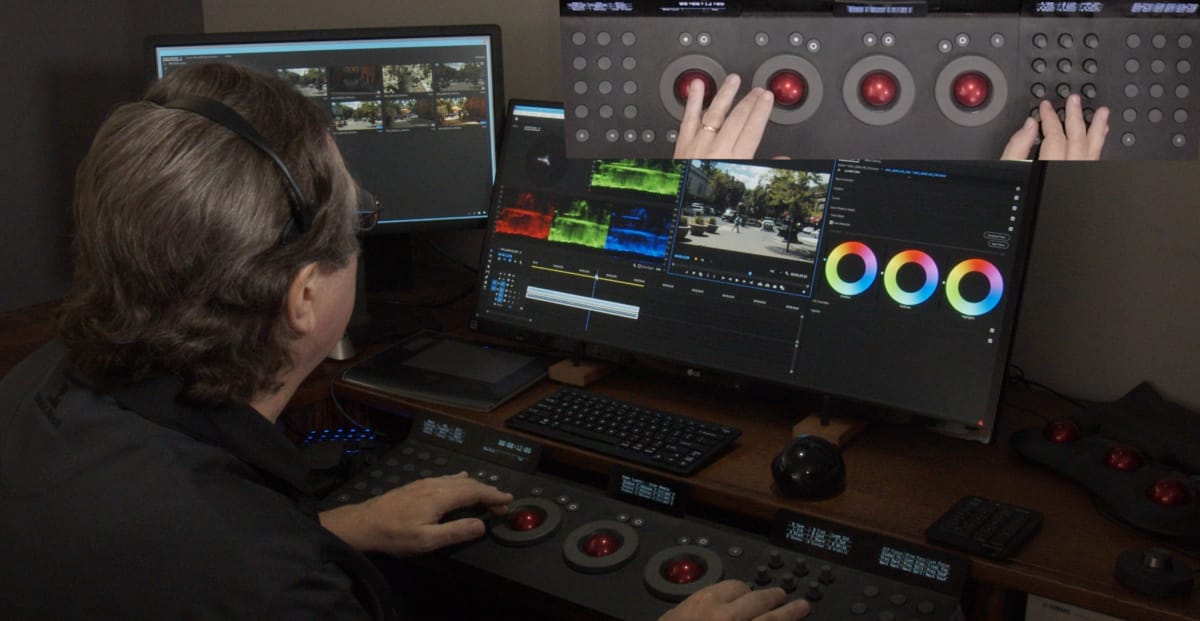
In my workflow, using multiple monitors is the foundation of my setup. I’ve got three, two for the user interface (UI), one as my “confidence monitor”. Keep in mind, my clients and workflow are geared to web-based distribution and viewing. Still, having all three displays is absolutely necessary for my work doing production grading in Adobe Premiere. Why? This video shows how having multiple good-sized monitors for the user interface is HUGE.
I show you how my extra-large screen real estate is essential for using the spiffy Lumetri Hue/Sat curves (which is the only “parallel processing” tool in Lumetri and a key part of my grading process in Premiere Pro).
Control Surfaces for the Masses
One of my favorite features about Premiere Pro is it doesn’t “throttle back” the Tangent Elements panel (like Resolve does) … or any other “control surface” for that matter. You can map the heck out of any Tangent gear. Even to setting multiple trackballs to “mouse emulation” … but why use your panel for mouse work? This video Insight shows my use-case and it’s a great technique that will save you time and speeds up your workflow.
Member Content
Sorry... the rest of this content is for members only. You'll need to login or Join Now to continue (we hope you do!).
Need more information about our memberships? Click to learn more.
Membership optionsMember Login


