Using Color Grading To Tell A Decades-Long Story

August 1, 2022

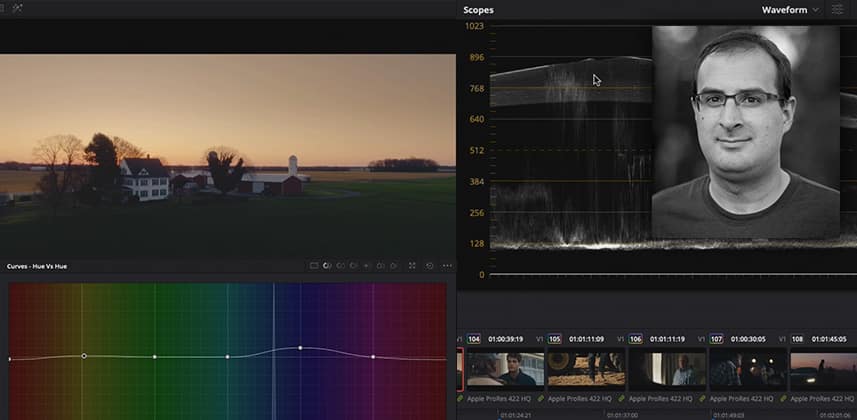
Colorist Joey D'Anna breaks down his color grade of an indie feature - showing how he executed the goals & technical challenges of this film.


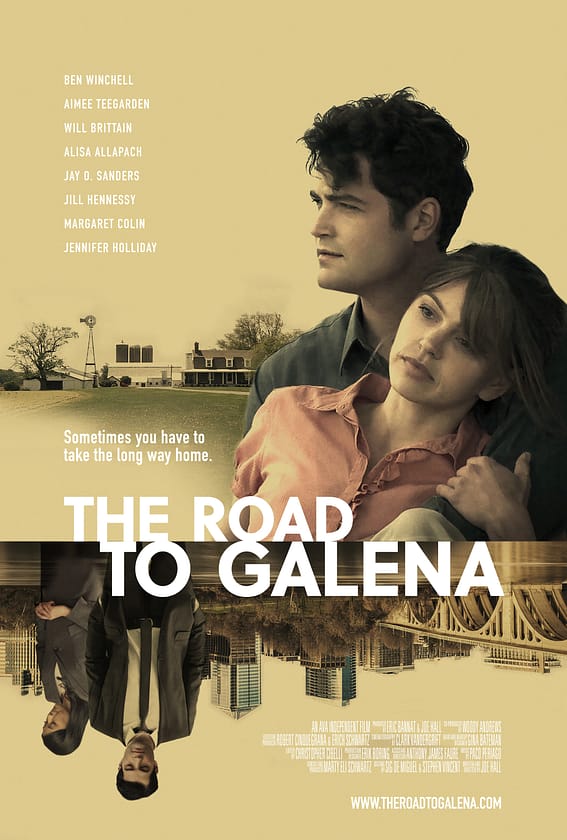
Breaking down color choices in the indie film “The Road To Galena”

Recently, I had the opportunity to color grade a really beautiful feature film called “The Road To Galena”. Written and Directed by Joe Hall and featuring cinematography by Clark Vandergrift – the film follows the lives of three friends over a 20-year period. This was an absolutely fantastic film to grade. Shot on RED, on the Eastern Shore of Maryland, and in Washington DC, I loved the opportunity to dig into great narrative work.

In this Insight, I share the production’s technical concerns and workflow; but what I want to focus on is the use of color to tell the story. This film was a breath of fresh air for me – almost all of the color grading was creative. The technical challenges were limited, and the footage was at a solid starting point due to the great lighting and production design.

Technical Concerns

Color grading feature-length films always have technical challenges, and this one was no exception. We started grading The Road To Galena before final distribution was set in stone, so I needed to develop a workflow that kept all deliverable possibilities on the table. The biggest workflow things I needed to focus on were:

  • Achieving a consistent look across multiple models of RED cameras and drone footage
  • Creating a grade that will work in both SDR and HDR
  • Being able to create any possible deliverable a potential distributor would ask for without having to significantly alter the creative grade

With these goals in mind, I settled on using ACES in a node-based workflow but made sure not to make any adjustments post-ODT, allowing for creating a future-proof ACES master if needed.
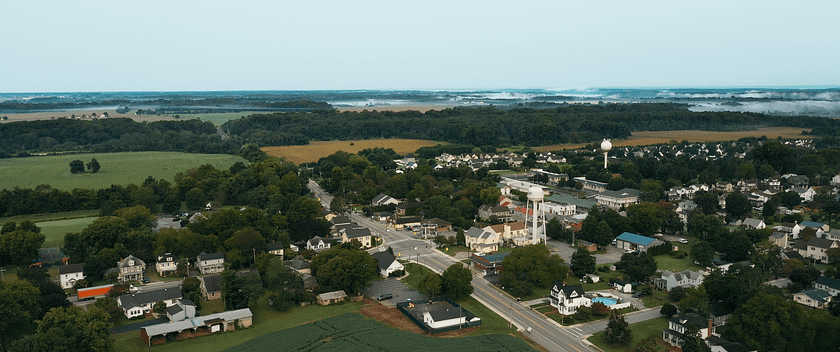
A node-based ACES workflow kept open our options for any potential SDR or HDR deliverable.

Creative Concerns

With the workflow figured out – the real fun started with the actual creative grade. Since this story took place over two major locations and over 20 years of the character’s lives, there were a few important creative considerations as well:

  • Creating distinct visual looks for Washington DC and Galena, Maryland, while keeping a consistent feel across both.
  • Using subtle color changes to evolve the look as the characters’ lives evolve.
  • Protecting shadow detail to make sure the hair and makeup work done on set is best represented in the final film
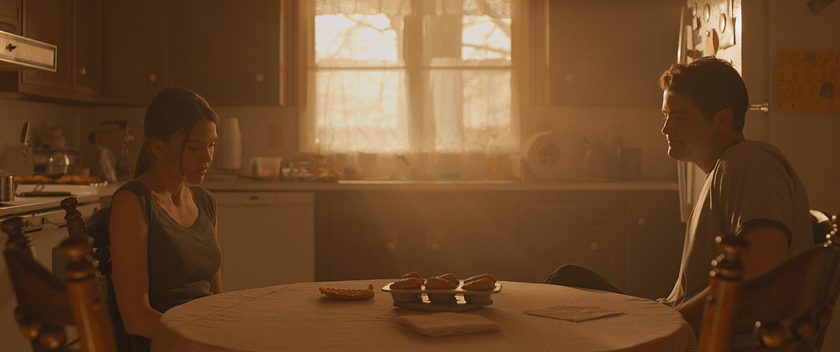
Grading “The Road To Galena” was a great opportunity for me to really get creative with some seriously pretty images.
The official trailer & color grade breakdown

And join me below for an overview of how we addressed these creative concerns and goals on several shots from the film. “The Road To Galena” is available now on demand.

As always – leave comments and questions below.

-Joey

Comments

Homepage Forums Using Color Grading To Tell A Decades-Long Story

  • That was a great demonstration of the thinking process through the implementation of creating a moving “feel” for a film project. I loved the focus on the why, not the tools … for this discussion, this was the correct way to talk about it.

  • Loved the way you talked about this film. Sometimes we get too focused on the technical side of color grading that we almost forget we’re here to tell stories. One of my favourites insights 🙂

    • Thanks so much! Yea that was one of my favorite parts of this project – the technical hurdles really were almost nothing. All the original footage was great, so 90% of my time could be spent doing really creative work instead of fixing issues or problems.


  • Thanks a lot for this insight, very interesting to follow your process of grading.
    Do you know how long i took you to grade this film ?
    Also, i was wondering why you used that CST to change from RED to ARRI in the beginning of your node tree ? why not work in RED ?

    • I would say probably around 2 weeks of total grading time, not counting things like the conform, prep, outputs, Dolby Vision trims and packaging, and other things we had to do with the project.

      As far as the CST to LogC goes – it’s strictly a personal preference. I really like LogC, and since the LogC IDT -> Rec709 ODT basically yields the same results as Arri’s official LogC > 709 LUT, it means some of Arri’s rendering intent lives in that IDT as well. Kind of a way of using the Alexa LUT with some modifications, but staying in a completely ACES workflow.

      Nothing would stop you from using the exact same workflow, skipping the CST, and choosing the correct Red IDT instead. This way is just super comfortable to me and it got me to the starting point I wanted very quickly.

      • Oh ok i see, thank you very much for your answer !

  • Wonderful video Joey! Nice to see you get in to the more “creative aspects“ of the grade rather than the usual “technical“ aspects (which of course is not a bad thing ) speaking more about that “creative theory“ is where I am most comfortable when discussing my work, as well. Cheers – MTO😎

Log in to reply.

1,000+ Tutorials to Explore

Get full access to our entire library of over 1,100+ color tutorials for an entire week!


Start Your Test Drive!
Loading...