Dealing With Problem Tracks
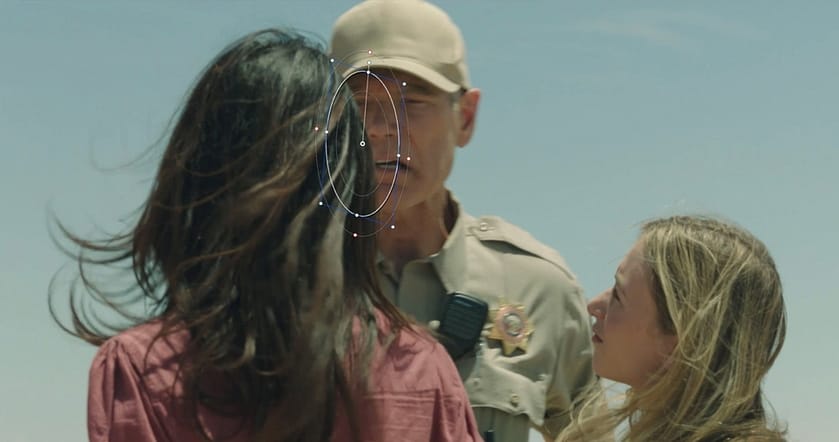
We’ve all run into that one shot – where you want to track a power window, but the object or person you are trying to track has someone just walk right in front of it. As great as most modern tracking software is – there simply is no way to deal with it automatically.
No matter what – you will be in for some manual keyframing.

Shots like this have two main problems to solve:
First, you need to get a good track on the background object, before, during, and after it is obscured.
Second – you need to mask out the window while it is obscured so your color adjustment doesn’t affect something it shouldn’t.
My Methodology – Planning And Working From The Outside In
When I approach a shot like this – the first thing I do is look at the entire shot and come up with a plan. This plan consists of what sections I think will work with automatic tracking, and what sections won’t.
Next, I’ll track the longest “easy to track” section. With that done – it’s time to get keyframing. But I don’t just jump right in and start making keyframes! I think the best practice is to create the least amount of keyframes necessary to get the desired motion.
With that in mind, I’ll make the start and end keyframes first – then gradually work inwards towards the middle of the manual tracked section.
Once all the manual work is done – I’ll go back and track any additional sections before or after it that still need tracking – and adjust and keyframe if needed.
Masking Foreground Objects
Once my track is solid – the next challenge is to mask out the window where the object in the foreground crosses. This can be done in various different ways depending on the needs of the shot.
In this Insight, I’ll walk you through my process both for tracking these challenging shots and for masking the object in the foreground. I’ll also show you one of my favorite masking techniques – using Resolve 17’s new Magic Mask tool.
If you haven’t used Magic Mask yet, don’t worry! It’s pretty simple to get started. We will also be releasing a much more in-depth Insight on the new tool soon.
As always – leave me any comments or questions below!
-Joey
Member Content
Sorry... the rest of this content is for members only. You'll need to login or Join Now to continue (we hope you do!).
Need more information about our memberships? Click to learn more.
Membership optionsMember Login


