Baselight For Avid – Using Windows

Baselight For Avid – Using Windows and Shapes

July 20, 2015

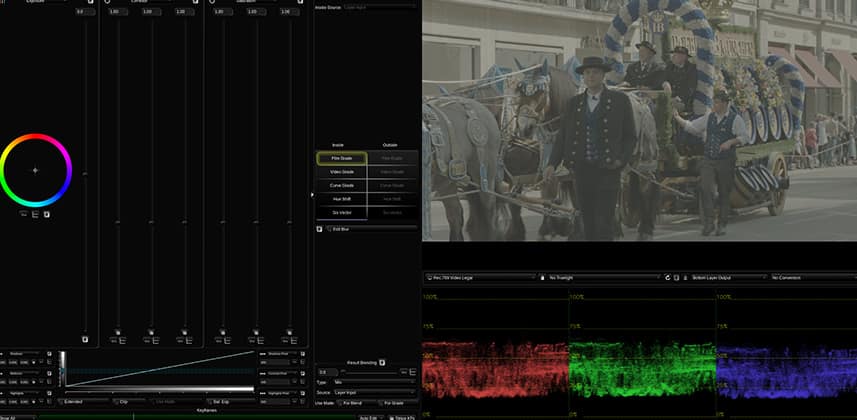
Using windows and shapes for masking areas and localised corrections are essential when grading! Learn how it works in Baselight for Avid.


Series

Mastering Windows & Shapes

In this insight, we take a look at working with shapes in Baselight for avid.

I had the luxury of knowing how to use complex shapes from using Resolve previously so I set my self the task of diving deep and getting to know the shape tool insight out!

I found drawing shapes in Baselight is excellent. There is four main types of shape. Freehand, Rectangle, Elipse, Edge.

Shapes are quick and easy to draw and I found the fact that every single shape could be converted over to a “custom shape” eye-opening. It was extremely easy to just grab a point on a window and stretch it out or change its aspect ratio.

The main controls are similar to what you expect with options for feathering and opacity.

Where I struggled initially was with how shapes interact with each other.

In my video insight below you will find an example of this and how I like to use the Interact options.

Interact options are a way of telling Baselight how you would like the windows to interact with each other.

It looks complicated at first but after some trial and error, I found they behave just as you would expect in any software with slightly different naming.

My favorite feature of working with windows has to be the Quick Shapes.  Sometimes it’s just useful and speedy to click a preset shape and it achieves exactly what you need.

Check out my video insight below to find out more about using windows in Baselight!

– Dan

Member Content

Sorry... the rest of this content is for members only. You'll need to login or Join Now to continue (we hope you do!).

Need more information about our memberships? Click to learn more.

Membership options
Member Login

Are you using our app? For the best experience, please login using the app's launch screen


Comments

Homepage Forums Baselight For Avid – Using Windows and Shapes

  • Hey Dan!

    I asked in the comments on your first Baselight tutorial if Baselight had the windows “that look almost like light sources (being “hotter” in the middle and radiating out)”. Is that what the “spot” shapes are?

    I know I could just look myself but I’m in the middle of a job and as a rule try not to install new software until I have everything signed off in case I blow up my computer 😉

    Thanks 🙂

    -KW-


  • Paul Willis
    Member

    Just a circle/ellipse with enough feathering will usually achieve a light source effect. Using them subtly by raising highlights/gain inside the shape they can create the impression of a soft light hitting the subject. It’s a great way to shape the lighting in a scene, but don’t go overboard with it as they can make areas seem unrealistic.

    I think Baselight’s ‘spot’ shapes are just very long ellipses placed diagonally across the screen, with appropriate feathering and a smoother rolloff towards the bottom end of the shape.

  • Cool – thanks for the reply Paul!

    -KW-


  • edulista
    Guest

    I got this tip from gatbsy’s DI, use matte tool’s Blur instead of feathering on shapes for more organic smoothness on windows. I wish you have produced more BL videos. Looking to learn BL.


  • Dan Moran
    Guest

    Very true! This is something I need to get back into. I’ll try on focus on spending more time in BL and get some new Insights out there!

Log in to reply.

1,000+ Tutorials to Explore

Get full access to our entire library of over 1,100+ color tutorials for an entire week!


Start Your Test Drive!
Loading...