| Series |
|---|
Advanced Finishing Techniques: Part 2
How to Deal With Picture-In-Picture Effects from Self-Contained Quicktimes
In Part 1 of this series, we looked at the challenge of working in DaVinci Resolve with a non-standard, super-large frame size (being used for permanent display). You learned how I prefer to have two operating settings; one for when I’m color grading and one for when I’m rendering.
In Part 2, you’ll learn how I tackled another challenge of this project – which dealt with round-tripping between Premiere Pro and DaVinci Resolve.
DaVinci Resolve gives you two options when moving projects between a Non-Linear Editor and Resolve. You can use XMLs to move timelines between different software or you can render the timeline out of the NLE as a single movie file and use Resolve’s Scene Cut Detection workflow to ‘automagically’ cut down the single movie into individual shots.
In this project, XML is NOT an option – and neither is Resolve’s Scene Cut Detection workflow
I ran into two problems when building the color correction workflow for this job:
- One, the Premiere Pro timeline was much too complex and had too many resizes for an XML workflow: I could be sure that all the shots would link back up inside Resolve but there was almost no chance that upon re-export from Resolve into Premiere that anymore 80% of the resizes would be correct. That would leave much too much work for either me or the editor to have to double-check and fix.
- Two, there were dozens and dozens of Picture-in-Picture effects that would break Resolve’s automatic Scene Cut Detector: Just by watching down the locked picture I knew, without a doubt, I’d spend more time cleaning up the Scene Cut Detector than it would take to just rebuild the timeline (and the Picture-in-Picture effects) by hand. Manually.
You’ll learn how to easily deal with Picture-In-Picture effects within a ‘Flat Movie Roundtrip’ workflow using the Edit Page
This isn’t the first time that we’ve tackled this subject on Mixing Light. A few years ago, Robbie showed you how to do precisely this type of thing using the crop tools inside a node on the Color Page. But since that time, DaVinci Resolve’s Edit Page has matured – and I much MUCH prefer doing these operations in the Edit Page. Why?
- First, some of the PIP effects in this project were very complex, with one set of PIPs wiping into another set: The resultant node tree would have required much too much management and not been intuitive to understand when it came time for revisions.
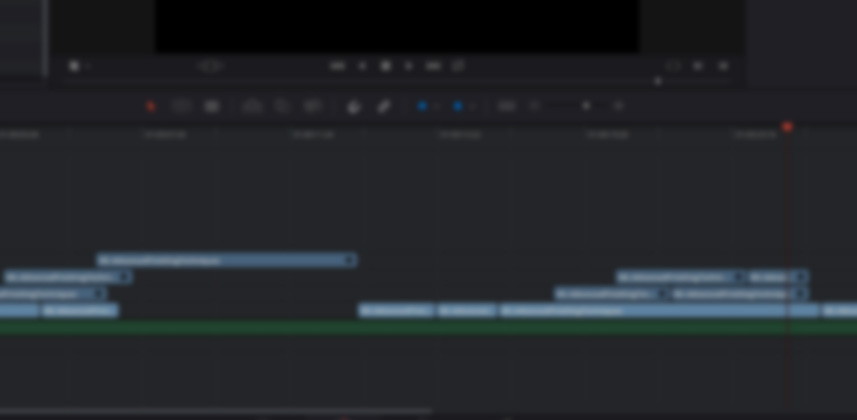
- Second, building this in the Edit Page in the manner I’m showing is extremely visual: It’s easy to tell what shot you’re working on just by looking at the timeline. You can also tell when that shot ends and the hierarchy of the composites… knowing which shot is a layer above another shot.
- Third, following this workflow lets you figure the precise Shot Count: And knowing your Shot Count is an essential color grading time management tool.
Coming Up in Part 3
On a job like this, you’re almost certainly guaranteed to have revisions. And that’s precisely what happened. I had shots swapped out and crops change positions on me (often several times across several rounds of revisions). In an XML workflow, that’s pretty easy to deal with. In a roundtrip workflow, it can be very easy or it can blow up in your face. You’ll learn what I did to keep the revisions from blowing up in my face and how I modified my workflow depending on the nature of the revision.
-pi
Member Content
Sorry... the rest of this content is for members only. You'll need to login or Join Now to continue (we hope you do!).
Need more information about our memberships? Click to learn more.
Membership optionsMember Login


