What’s the point of the Offset Control?
Most color correction apps (and most editing apps) have some equivalent tool or filter to DaVinci Resolve’s Offset control.
The most common question I get about this control: When should I reach for the Offset Control?
And the answer to that question requires an understanding how Offset controls work differently than our other controls, which—in one way or another—are limited by tonal ranges. And a recent tutorial about the Offset Control on Vimeo by a friend of MixingLight, Cédric Lejeune, got me thinking about how much more complex this topic is than it initially seems.
Why I’m writing this post
While watching his excellent 10-minute exploration of Resolve’s Offset control, I realized that here on MixingLight many of the finer points of using the Offset control have been covered in our Insights Library. And Cédric’s introduction is a great way of kicking off a blog post that pulls all our Insights on this topic into one place.
I’m embedding into this post Cédric Lejeune’s Vimeo video introducing the topic of the Offset control. And then I’ll follow up with links to various Insights we’ve created for our members. Just remember, to watch our Insights you’ll need to log in (or sign up for a free 24-Hour Test Drive for complete access to the Insights Library).
Watch Cédric Lejeune’s Tutorial on the Offset Control
Further Study:
These Insights all dig deeper or provide alternative explanations on how you might want to use this seemingly simple control:
- An Introduction to Offset Controls – Dan Moran shows how to use the Offset Controls for precise overall color balancing. He also digs into the power of the ‘Printer Light Hotkeys’ for extremely precise moves to add or remove secondary color tints.
- Log Grading: Part One – At one point in his video Cédric mentions using Contrast Pivot in conjunction with the Offset Controls. The first half of this video on Log Grading is another core explanation of how the Contrast / Pivot tools work together.
- Creating an S-Curve Using Contrast Pivot – After a quick overview, Robbie Carman takes a much closer look at this unexpected behavior of Resolve’s Contrast control.
- Getting the Best Exposure from your RAW Files – Tecnically, this Insight from Dan Moran has nothing to do with the Offset Control. But if you watch how Dan uses the ISO on this RED Dragon footage… and think of usng the Offset for non-RAW footage the way Dan uses ISO for RAW – you’ll see how the Offset Control can play a much more central role in your day-to-day color correction workflow.
Elsewhere on the Web:
- What’s in a Name? – If you’re a SpeedGrade user, you may wonder how those Offset controls fits in this mix? Well, almost precisely exactly the same. And in this blog post, Alexis Van Hurkman describes the differences between Lift / Gamma / Gain and Offset / Gamma / Gain controls.
- Old Tricks in a new way – On his personal website, Alexis Van Hurkman shows how to use the Offset Control to create a Color Wash Look using a new feature in DaVinci Resolve 10.
Offset Control: Not to be overlooked
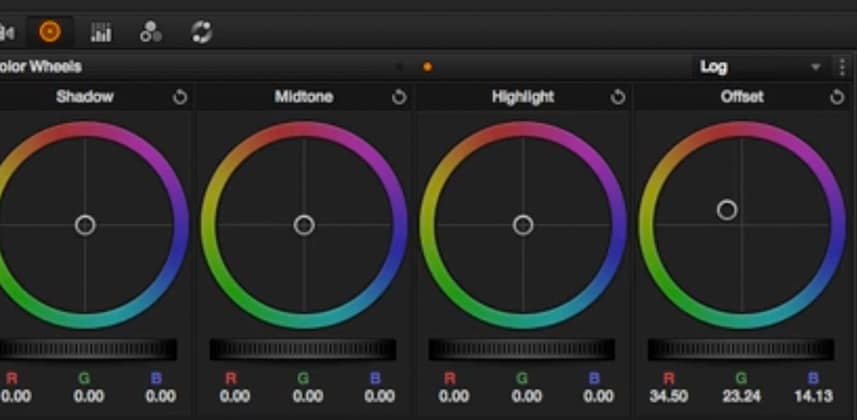
The Offset Control looks like a rudimentary control. It’s not – it’s just a very broad control. And that’s where its strength lies… in the non-targeted nature of its effect on our image. We can deal with individual RGB channel issues while not effecting the contrast relationship between those RGB channels.
In this way, I encourage you to explore using the Offset Control early in your image manipulation pipeline. Or – at the very end, where you want to make overall Exposure (brightness) changes without effect the finely-tuned details of your color grade.
– Pat
