| Series |
|---|
Colorist Circuit Training Part 2 My Method
In the second part of my series on pushing yourself to be better, harder, faster and strong at grading I’ll be showing you how I take on the task and review my images. We’re taking a look at another clip from the BMD 4k Camera that you can find here on Blackmagic’s User Forum.
In this video insight I have already performed the grading part of the circuit training by grading the shot in the following ways.
- First Impression
- Brighter
- Silhouette
- Cooler
- Cold
- Black and White Primaries
- Black and White Curves
- Color Curves
- Diffusion
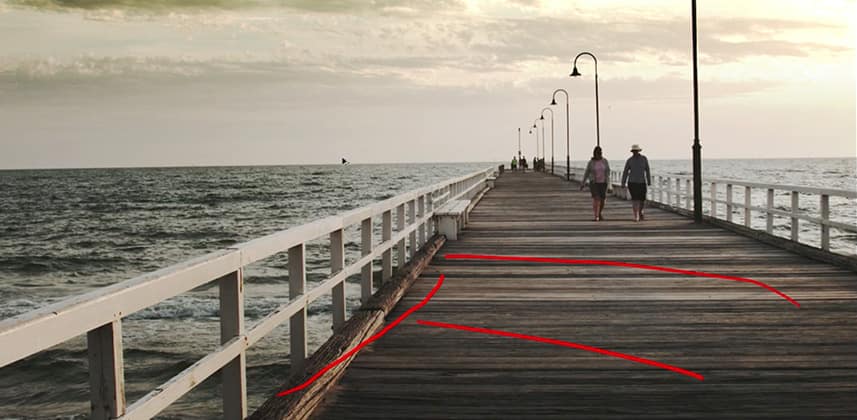
We’re going to load up all my graded stills which I’ve exported from Resolve into Photoshop so we can compare the grades and use the brush tool to make notes. We’ll be taking a look at each version back to back and comparing the best and worst parts of each version of the grade. Our goal is to try and discover a new look or a new way of grading this shot. By creating so many similar looks we discover things like textures in the wood, color of the sea and can then take the best of each grade setup and know we’re getting the best out of the image.
Be Hypercritical
Training your eye is exactly like training your body. If you don’t put 100% effort into what you’re doing you’re only going through the motions and not learning to spot. Find every single flaw and mark it out in photoshop to remind yourself of every little detail. In this insight, I discovered several key areas that were important to making this shot look its best.
- Sea Color
- Wood Texture
- Color Temperature
- Cloud Texture
- Skintone
In each version I got some of those elements looking ok but no version was absolutely perfect. I know when I grade this shot “for real” that I would be paying attention to a lot more detail than when I casually approached it for the first time. The hardest part of grading is “seeing” what you need to do.
An experienced colorist will look at an image completely differently and take all of the options into consideration. Starting with the people then working the texture, tone and color balance of the image to get the very best.
By doing exercises like this once a year
Share Your Practice!
I’m excited to see everyone’s favorite version of their look! So please post them in the comments. Note: this isn’t about right or wrong, but pushing yourself and (if you post your results in the Comments) learning from each other. So go ahead and post, it would be great t see how everyone gets on!
(Just post JPEGs, our system probably won’t allow movies to be uploaded. Or upload your work to YouTube and link to it from here…)
– Dan
Member Content
Sorry... the rest of this content is for members only. You'll need to login or Join Now to continue (we hope you do!).
Need more information about our memberships? Click to learn more.
Membership optionsMember Login
