6 Strategies to Kick-Start Your Primary Color Corrections

Six Approaches For Primary Corrections

February 14, 2014

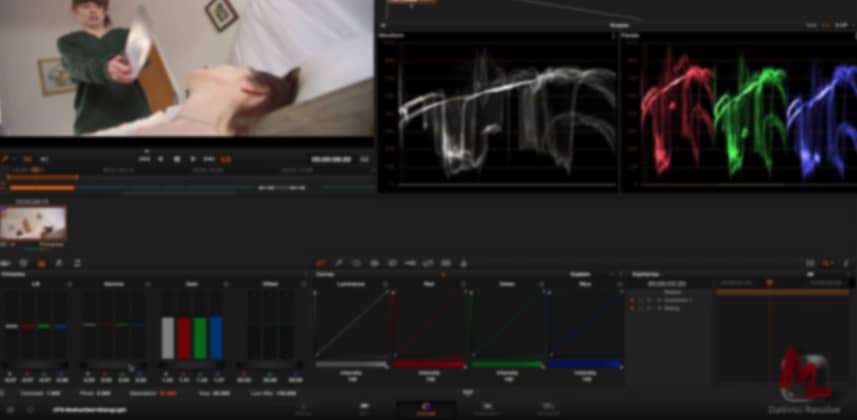
The first step in color correction is to do your 'primary correction'. What controls should you touch first? This video explores 6 options.


4 Core Techniques (Plus Two Variations) For Building Primary Corrections

The Primary Correction is what colorists call their first color correction step: Set contrast and saturation.

But in an app like DaVinci Resolve, it seems like you can set contrast a dozen different ways. Where should you begin? Well… that depends.

In my experience, every project is different. Different footage reacts to the same ‘inputs’ differently – giving us different looking starting points… even though you’re color correcting the image in precisely the same manner.

Where you start effects where you end

I’ve also found that depending on the different ways I set my contrast – it can be very easy to get to the look I’m trying to achieve. Or… it can be impossibly difficult.

Over the years I’ve developed a quick routine of starting big projects by taking five minutes and quickly running through my various techniques for executing a Primary Correction. This routine sometimes helps me decide which specific tools I want to use on that particular project.

I’ll also start getting a sense of the footage and if it’ll stand up to more aggressive grading techniques or warn me if I need to use a lighter touch.

In this Insight, I want to share with you my 6 core techniques for primary corrections (4 core ones and 2 variations) so that you can add them to your grading toolkit.

Leave Comments

Let me know what you think of this Insight… especially if it provokes a question. Leave a question or comment.

Member Content

Sorry... the rest of this content is for members only. You'll need to login or Join Now to continue (we hope you do!).

Need more information about our memberships? Click to learn more.

Membership options
Member Login

Are you using our app? For the best experience, please login using the app's launch screen


Comments

Homepage Forums Six Approaches For Primary Corrections


  • Patrick Inhofer
    Guest

    The footage was RED set to RedLogFilm. But I’ll cycle through these different approaches no matter the footage, Log, Raw or Rec709.

    I don’t think any one is inherently better. I tend to have my personal preference – but even that changes over time. Often I’ll get bored with one approach and change it up just to keep things interesting. Other times, one project clearly favors one of approach over another and dictates to me which to use.

    RE: Offset Contrast – That approach isn’t a y-only move, so the image tends to saturate as you add contrast.


  • Chris Climer
    Guest

    This might be a silly question but, in the beginning you talk about where you are going to bring the highlights to a certain percentage and the numbers really don’t match with what the DaVinci Scope is saying. Are you going by a 0-100 scale and not by the DaVinci scope scale? I know it is silly and most people already got it but my brain is missing a step for some reason.


  • Patrick Inhofer
    Guest

    Correct. The DaVinci scopes are based on a 10-bit scale. I translate them to percentages from 0% black to 100% white. I’m speaking in rough percentages. It’s just how I think – having spent 24 years reading scopes as IRE and not as digital bits. Ideally, the Resolve scopes would allow us to choose our scale – but they don’t.


  • Chris Climer
    Guest

    Awesome! Glad my brain is thinking the same. I learned to do 0% to 100% from apple color and for me it just seems to be easier. Thanks for the quick reply


  • Patrick Inhofer
    Guest

    🙂 You betch’a.

  • It seems BMD’s engineers have missed something int those scopes…
    A Signal 0 in a IRE scale, in fact, means 64 in a 10bit RGB scale.
    And 100 IRE is related to 940.


  • Patrick Inhofer
    Guest

    The scopes in Resolve relate to Resolve’s internal 10-bit processing. True black is 0 bits and full white is 1023 bits. On rendering, depending on the codec you’re rendering to Resolve will either follow the SMPTE spec for black at 64 and white at 940 or full range for an RGB codec.

    Everyone gets this confused at some point – but Resolve’s scopes are showing what they should.

  • I don’t know if I agree with that…
    Besides, I’ve already read about it in some forum out there…

    And if you switch between Colorspace from Video to Data nothing changes on the internal Scopes, if that was the case.

    If you have an external Scope over the SDI you can figure that the Pixel at 1023 is actually at 100IRE. When you switch the Colorspace to Data (delivering the entire 10bit signal) you can see the signal over the 100IRE.
    Actually, Ultrascope shows the correct specification as we see in the picture.
    That’s another reason I insist about using an external scope.


  • Patrick Inhofer
    Guest

    Resolve has its own internal processing. That’s what the scopes show. When you change between Video and Data in Project Settings you’re changing where those internal numbers get set when outputting to a display. Here it is directly from Page 77 of the Resolve manual:

    “Colorspace: This setting only affects the data levels being output via the video interface
    that connects the Resolve workstation to your external display. It has no effect on the data
    that’s processed internally by Resolve, or on the files written when you render in the Deliver
    page. It is imperative that the option you choose in Resolve matches the data range to
    which your external display is set. Otherwise, the video signal will appear to be incorrect,
    even though the internal data is being processed accurately by DaVinci Resolve. There are
    two options…”

    Page 267 has some additional info on changing between Video and Data Levels:

    “When you change this setting, the image being output to your external display should change, but
    the image you see in your Viewer will not. That’s because this setting only affects the data levels
    being output via the video interface connecting the Resolve workstation to your external display.
    It has no effect on the data that’s processed internally by Resolve, or on the files written when you
    render in the Deliver page.”

    Later in that section the manual explains how the Output Data Level Settings effect the render (not external viewing) and recommends leaving that an Auto.

    The manual doesn’t answer the question ‘why Auto?’

    The answer: The codec you’re rendering to has written into its specification if it’s a full range or video range codec and Resolve knows, based on your rendering choices, which is the appropriate Output Data Level. The kink in this is if you’re rendering to ProRes4444, which has an RGB variant in the specification which is Unscaled Full Range. Resolve will assume ProRes4444 is Normally Scaled Legal Video and if you’re in an RGB pipeline you’ll need to manually override Resolve’s default behavior.

    I hope this clears up what you’re seeing and why you’re seeing it.


  • Seth Goldin
    Member

    Hey there, this looks like a duplicate of the previous video, “Commercial Workflow: Labeling and Ingest.” Would love to see this one, though.

  • I agree with Seth. Really looking forward to seeing this one!


  • Gary Hughes
    Member

    Same here. The wrong video is playing.

  • Wrong video.


  • Patrick Inhofer
    Guest

    I everyone – Thanks for continuing to let us know about the problem with this Insight! We’ve fixed it and the proper video should now be streaming and downloading!

Log in to reply.

1,000+ Tutorials to Explore

Get full access to our entire library of over 1,100+ color tutorials for an entire week!


Start Your Test Drive!
Loading...