| Series |
|---|
Combining Multiple Tools Into One
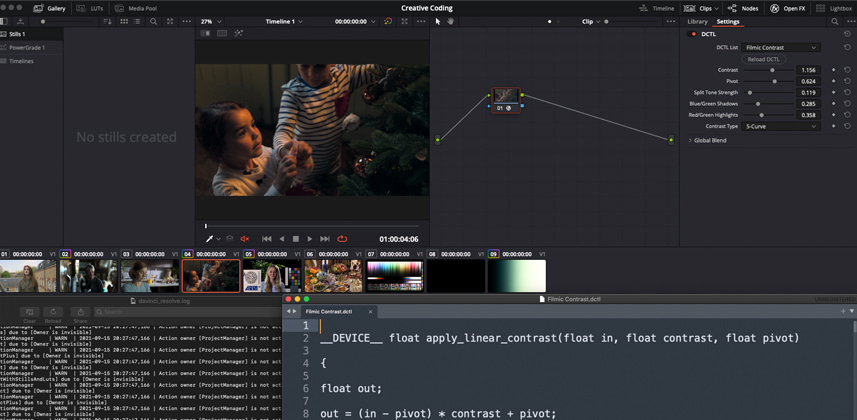
Today we’re going to build on what we learned in Part 5 to create an improved tool that includes both our linear and S-curve contrast algorithms and offers the user their choice of the two. Along the way, we’ll cover:
- Thinking and working in ‘modules’
- Using if/then conditionals to evaluate user input and alter code behaviors accordingly
- Declaring, passing and returning variables between functions
- Debugging our S-curve algorithm for values above 1
Let’s get into it!
Adding Complexity Without Getting Lost
As we work our way toward building out our Filmic Contrast DCTL, it’s going to become increasingly important for us to consider not only what our code does, but how it’s structured. For example, we understand by now that we can have a DCTL whose behavior is completely contained within our main “transform” function. But after Part 5, we also know that we can create additional functions and invoke them from within the main “transform” function (or from within any other function).
But what’s the real benefit of separating our DCTL’s behavior into multiple functions? Does it allow us to do things we couldn’t accomplish with a single function?
In general: no. The key benefit of using multiple functions is to allow our script to increase in scope and complexity without becoming overly difficult to read or debug. To get a better sense of what I mean, let’s write out some pseudo-code for the tool we’re going to build today, which will apply our linear contrast formula or our s-curve contrast formula depending on the user’s selection:
- Input the user’s desired contrast and pivot values using sliders
- Input the user’s desired contrast formula using a drop-down menu
- Evaluate the following conditional:
- If the user selected S-curve contrast, apply the s-curve contrast algorithm to the input pixel using the provided parameters
- If the user selected linear contrast, apply linear contrast algorithm to the input pixel using the provided parameters
- Return the result of step 3.
The place where separate functions can really help us code this up is in step 3. The idea is that rather than spell out these contrast algorithms on the spot, we can invoke a separate well-named function that contains those algorithms. In doing so, we’ll end up with concise and easily understood code:
if (contrast_type == Linear) {

out = apply_linear_contrast(contrast, pivot);

}

if (contrast_type == S-Curve) {

out = apply_linear_contrast(contrast, pivot);

}
Observe the difference between the complexity and legibility of the above snippet with one which doesn’t use separate functions:
if (contrast_type == Linear) {

out = (in - pivot) * contrast + pivot;

}

if (contrast_type == S-Curve) {

if (in <= pivot) {

out = _powf((in / pivot), contrast) * pivot;

}

else {

in = 1 - in;

pivot = 1 - pivot;

out = _powf((in / pivot), contrast) * pivot;

out = 1 - out;


}

}
I think we can all agree that the second snippet takes longer to read, and that its behavior is harder to follow. By relying on separate functions, we can build a DCTL that’s easier to keep our bearings in, and easier to debug. If there’s an issue or change needed with the algorithm, we can focus on its dedicated function. If there’s an issue with when and how the algorithm is being applied, we can focus the way it’s invoked with our main ” transform” function.
Member Content
Sorry... the rest of this content is for members only. You'll need to login or Join Now to continue (we hope you do!).
Need more information about our memberships? Click to learn more.
Membership optionsMember Login


