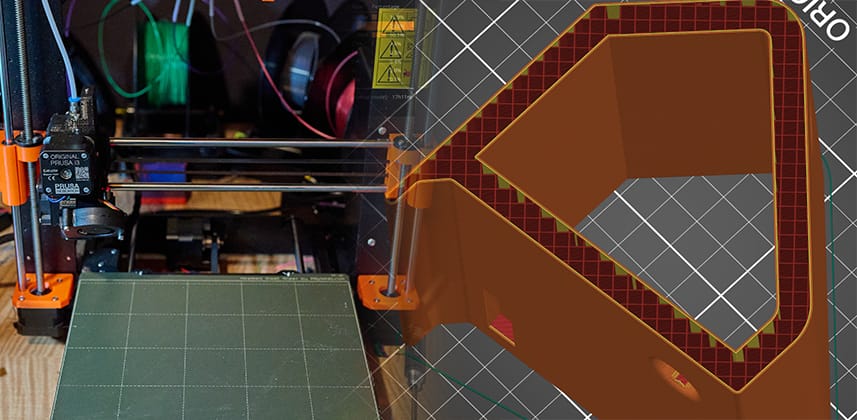
3D Printing For Post-Production: An Introduction

February 14, 2021

Learn the basics of 3D printing, and how you can use it to improve your post production environment with custom upgrades.


3D Printing For Post Production

I’ve always been a bit of a tinkerer and maker. I love building my own solutions to problems, my own electronics, tools, etc. If I have a choice between buying something off the shelf or building it myself, I’ll almost always build it myself.

These days – making skills can be useful for any industry, even post-production. In the new age of problem-solving during the Covid pandemic – being able to customize and build things you need for your home studio can be a huge advantage!
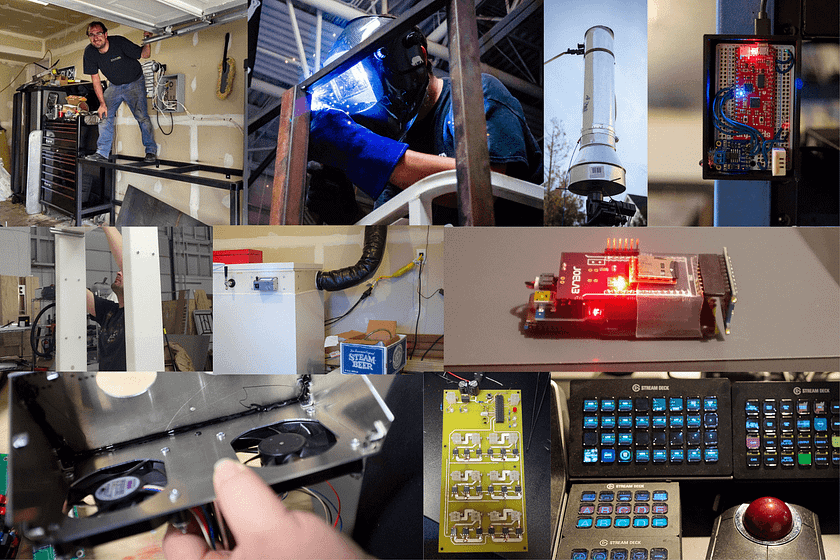
Why buy it when you can make it? Over the years both for work and fun – I’ve made a lot of custom things. This can be a real advantage if you are building out a home studio during Covid!

Over the past few years, this has led me into the fascinating world of additive manufacturing, specifically 3D printing. Originally I wanted to print drone parts and toys for my kids. Starting with a cheap entry-level printer, I now have grown to 4 printers and even multi-material capability.

So What Does This Have To Do With Color Grading?

Well, one of the coolest things I’ve been able to do with 3D printing has been customizing my color suite! These days I have a ton of 3D printed adaptors, holders, and devices that make my day to day work much easier. It started with holders for the original Stream deck, and now I have custom holders for the Stream Deck XL that aligns it with my Resolve Mini Panel and with my Element panels on my assist station, adaptor plates for my scope monitor and ATEM monitor, and even Wacom pen holders.

3D printed components to align my Stream decks, color panels, and Wacom pens add a welcome ergonomic boost to my day to day work.

The coolest part? I’ve been able to reach out to other colorists who have printers and give them files to print themselves – from anywhere in the world. Robbie recently needed the same monitor plate as I use for my scopes – and in the age of Covid I can’t just meet up with him at the office anymore. Instead, I sent him a tiny file, and a few hours later he had the exact same physical object. That is some Star Trek level future stuff right there!
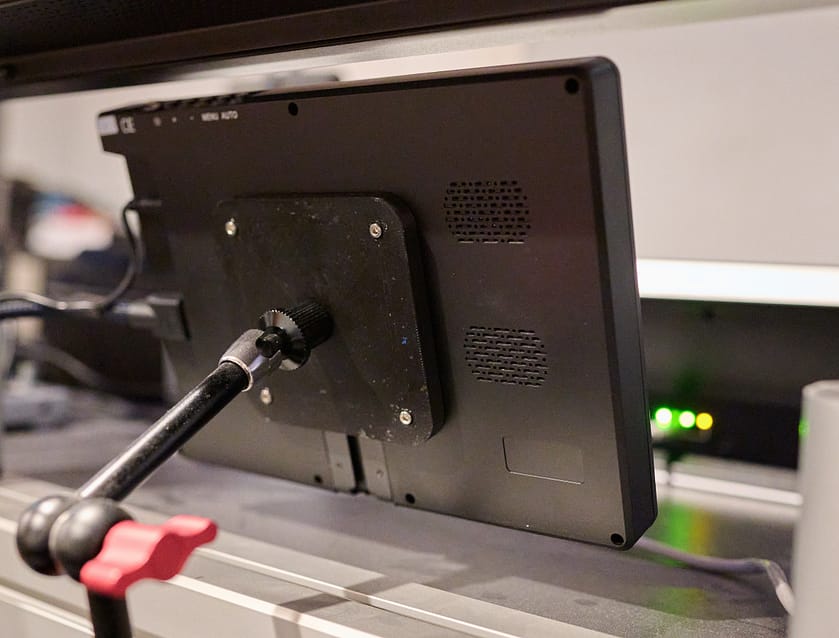
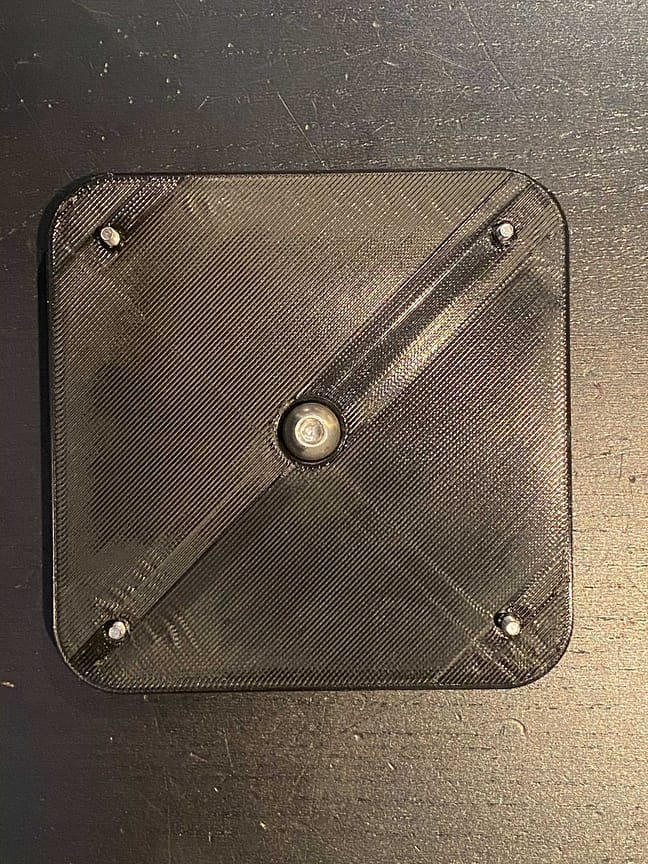
Robbie and I both have multiple small monitors for scopes and other uses, using these custom 75mm VESA plates to connect them to arms. Since Robbie has a printer too – all I had to do was send him a file.
Once Robbie had my design, he could print his own plate. It’s like a replicator right out of Star Trek!

3D Printing is also fantastically useful for prototyping. If you need to have some kind of custom mount or stand designed for your suite – but need it to be stronger than a printed part can be, you can test fit lots of different options before paying to have a part professionally made. In my case – we used 3D printed prototypes to verify the fit of a custom adaptor that mounts my XM310K monitor to my TBC console. Obviously – I didn’t want to trust a $25,000 monitor to a 3D printed part – so the final version was machined out of aluminum.
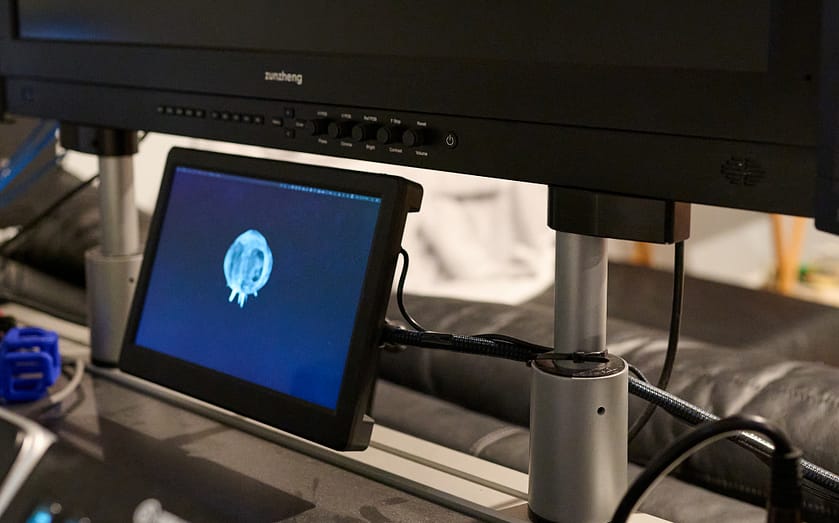
Custom mounts for my XM310K were prototyped with 3D prints, then custom made out of aluminum.

Getting Started

At this point – I’ve sent my printed Stream Deck holders to a lot of colorist friends, but I’ve had even more reach out to me asking how to get started printing their own.
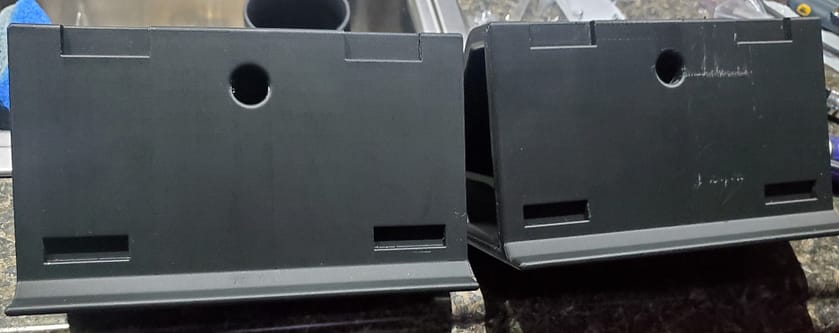
My mini panel compatible Stream Deck XL stands have been popular among my colorist friends. These two were shipped off to MixingLight’s own Patrick Inhofer for his suite.

I’ve seen a ton of interest in the post-production community about 3D printing – so I am writing this article to serve as an all-encompassing introduction. I’ll explain the concepts, terms, process, and provide some resources to get started.

One important thing to remember – 3D printing is a complex and evolving field so don’t get disheartened by initial failures or issues. Failed prints can be frustrating but think of them as learning experiences and a chance to improve. This isn’t quite plug and play yet, so expect a bit of tinkering and learning along the way.
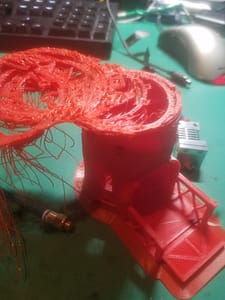
A failed print can be a real bummer – but it’s all part of the process. Don’t expect perfection on your first try, and don’t give up!

So let’s start at the very beginning: what is 3D printing?3D printing is a form of additive manufacturing.

This means producing a physical object by building up raw material (as opposed to traditional machining, where you cut an object out of a bigger piece of raw material). There are many different types of 3D printing – but for our purposes, we are going to focus on FDM (fused deposition modeling) printing. This works by melting plastic through a small nozzle, and essentially building the object up as a series of individual layers.
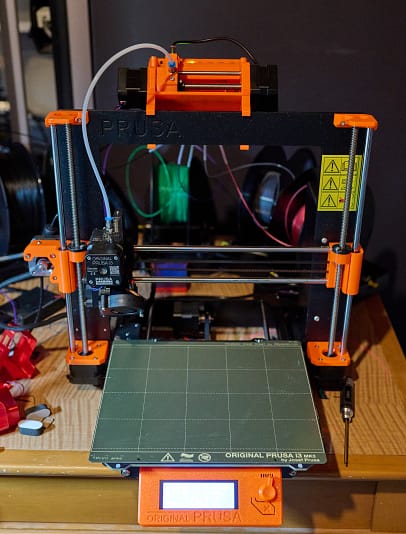
My Prusa MK3S, one of 4 printers I use regularly.

Member Content

Sorry... the rest of this content is for members only. You'll need to login or Join Now to continue (we hope you do!).

Need more information about our memberships? Click to learn more.

Membership options
Member Login

Are you using our app? For the best experience, please login using the app's launch screen


Comments

Homepage Forums 3D Printing For Post-Production: An Introduction


  • Peder Morgenthaler
    Guest

    Great stuff, Joey. This is one of the best FDM 3D printing overviews I’ve read. I could have used this last year when I was just getting into this! I run an Artillery Sidewinder X1. I’m going to add an Octoprint & cam soon, and am thinking about upgrading the hot end. And I’ll be getting a BM Mini Panel soon, so I’ll definitely be printing your Stream Deck holders!

    Now, the real question… what are your go-to filaments??


  • Joey D’Anna
    Guest

    Thanks! I like Hatchbox PLA, eSUN PLA+ and sainsmart TPU. The amazonbasics filament is pretty decent too – but it isnt any cheaper then hatchbox, so i only get it when one of the others is out of stock.

    the eSUN pla+ is really strong for PLA – I’ve printed some pretty heavy duty stuff with it


  • Peder Morgenthaler
    Guest

    Looks like we have the same faves! The eSUN PLA+ is really great, and so strong. That’s my default filament for most parts. I like the Hatchbox PLA too, but I’ve had some occasional befd adhesion issues with it. Good to know you like the sainsmart TPU. I’ve been trying to decide which TPU to try the first time around, so I’ll give that a go.

    I really want to print in PETG, but I’ve had such a hard time. Really bad bed adhesion, stringing, globs on the nozzle… I just can’t get a good print out of it, and I’ve tried a bunch of brands. Any thoughts there?


  • Joey D’Anna
    Guest

    I hate PETG for those same reasons. TPU is really tough too but ive spent a long time dialing it in for drone parts – adding combing and wiping settings helps with that a lot.

    for PETG it likes a textured bed better then a smooth one – but the strining is just annoying. i think it would do better if you had a filament dryer – but i havent tried that myself.


  • andi winter
    Guest

    thanks a lot. i could have used this overview too mach in march when i was starting printing :). but still, solid infos.

    i am planning to draw a stremdeck XL plus two nromal ones holder for the right and the left side of my mini panel.
    once i have something, i will share.

    can you share your stuff too? i dind’t find any link.


  • Joey D’Anna
    Guest

    yup all my designs are on my thingiverse page: https://www.thingiverse.com/jdanna/designs

Log in to reply.

1,000+ Tutorials to Explore

Get full access to our entire library of over 1,100+ color tutorials for an entire week!


Start Your Test Drive!
Loading...