Learn how to use Premiere’s strengths to improve your speed while color correcting
Why does working in Resolve and Premiere seem so different? Easy! Those two applications are built around completely different mental models. And before you can really get comfortable color correcting in Premiere, you need to understand the differences. Resolve’s toolset is deep but the UI is tightly structured. Premiere has a simpler toolset but the UI is vastly more flexible. You need to use Premiere’s flexibility to overcome its limits – and not just focus on the differences between the two platforms.
After many years of working with both Premiere and Resolve, I break down their main differences as:
- How the tools are laid out.
- How you apply effects.
- The rigidness of their User Interfaces (and how that influences your workflow).
- The ability to massively remap your colorist control surface (or not).
Tools Vs Effects
Resolve has a very wide and deep built-in toolset. Not quite up to the “everything including the kitchen sink” level, but … close. The color page only shows at any one time a small selection of the total tools available on that page. Once you learn how to hop between tools, it’s a pretty slick interface. Yea, you can add some plugins and effects, but you don’t need to for many things.
By its basic design, Resolve’s color page is a fixed thing. You can show/hide sections, you can reveal/hide alternate tools … but what’s there is simply there.
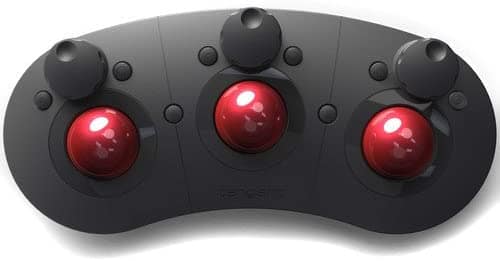
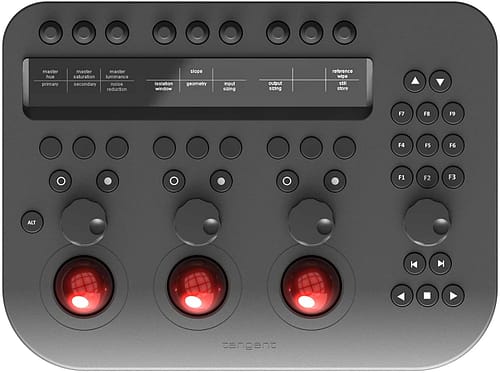
Resolve also rigidly pre-programs control surfaces … which are totally controlled and locked down by BlackMagic. My Tangent Elements panel has half its tools dark and unused in every frickin’ mode that Resolve supports. Plus, I can’t change things to where I want them to be on the panel. This drives me nuts in Resolve. ( I’ve heard complaints from those with the Big Kahuna Advanced panels that they aren’t allowed to change things either – which drives them nuts, too! Ha.)
But Premiere has the Lumetri effect, a built-in Color Workspace that is displayed as a Panel within the user interface (a big deal, as you’ll see). It has some very usable color tools, from tonal sliders through a great curves section, color wheels, HSL keyer, and a few other effects. And while there are a few additional useful color/tonal effects in Premiere, it has nowhere near the breadth and depth of Resolve. At first glance this seems very limiting.
But … is it really?
Premiere’s Structure Explained
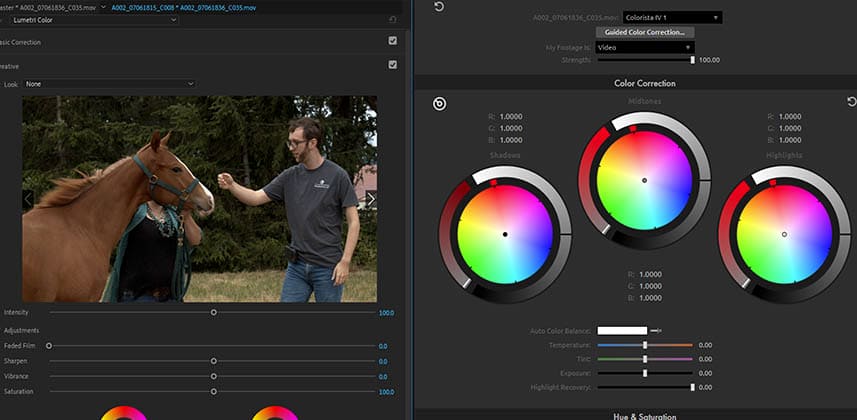
Premiere’s built-in color workspace featuring their Lumetri effect in a Panel looks like a fixed-set tool-space. But it’s merely a typical effect with a fancy graphical interface inside a dedicated panel. You don’t need the Lumetri panel open to use the Lumetri effect or even to use your control surfaces with it. The Lumetri panel is just a UI “thing”.
But wait … if Lumetri is “just an effect” … and the Lumetri Panel is an optional thing, what about other plugins? Can another company’s color toolset be used in Premiere (and maybe programmed to be controlled by your control surface)?
YES! This is the key to using Premiere’s flexibility to overcome its limits.
Roll-your-own color-focused workspaces
Users can easily build alternate or replacement color workspaces using the plugins made by other companies. In this Insight, I demonstrate how the Red Giant Magic Bullet Suite’s Colorista IV plugin can be opened as a Panel in Premiere … just like Lumetri!
And there are three good solid reasons any user should have at least one alternate color workspace in Premiere. Especially if you’re a graduate of the Dan Moran School of Grunge & Grain! (You might guess where I spend a lot of my time on Mixing Light watching vids … lol )
Premiere is Control Surface Heaven
Premiere allows, for example, the Tangent devices range (from the Elements through the Wave/Wave-2/Ripple) direct access to a TON of things. The “default” mapping from Tangent is just a start, and I show how I even use my Elements panel for paired mouse-emulations with vastly different sensitivity settings for quick access around the screen and fine control of curves.


Member Content
Sorry... the rest of this content is for members only. You'll need to login or Join Now to continue (we hope you do!).
Need more information about our memberships? Click to learn more.
Membership optionsMember Login


