Understanding Output Sizing: DaVinci Resolve
In my previous Insight, I discussed the shooting chart from Director of Photography Luke Geissbuhler. You learned how to set up Output Blanking Presets in DaVinci Resolve to allow you to jump between different framings while color grading quickly.
In this Insight, we’ll be looking at how using those Presets is confusing when it comes time to Deliver / Render your final images… especially if, like me on this job, you need to switch between two different aspect ratios (watch the video for an explanation of why I needed to do this).
Using Presets while Keyframing Output Sizing and Output Blanking
The ‘preset’ functionality in the Sizing menu turns out to be more confusing than you’d think. And if you set up Presets, you can’t switch between them when keyframing. I’ll show you the problem and how you can work around it.
Sidebar: The Confidence Inspired by a Professional Reference Display
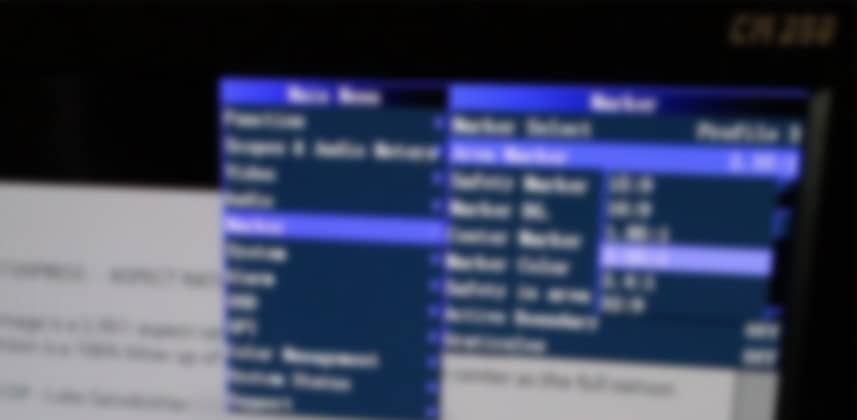
One side benefit of working with a professional display is how it adds confidence to your workflow. I’m using the Flanders Scientific CM250 but the features you see me use here are available on all their displays.
Question and Comments?
Have you found Output Sizing and Output Blanking to be confusing? Do you have strategies for handling this same problem? Let us know in the comments below!
Member Content
Sorry... the rest of this content is for members only. You'll need to login or Join Now to continue (we hope you do!).
Need more information about our memberships? Click to learn more.
Membership optionsMember Login


