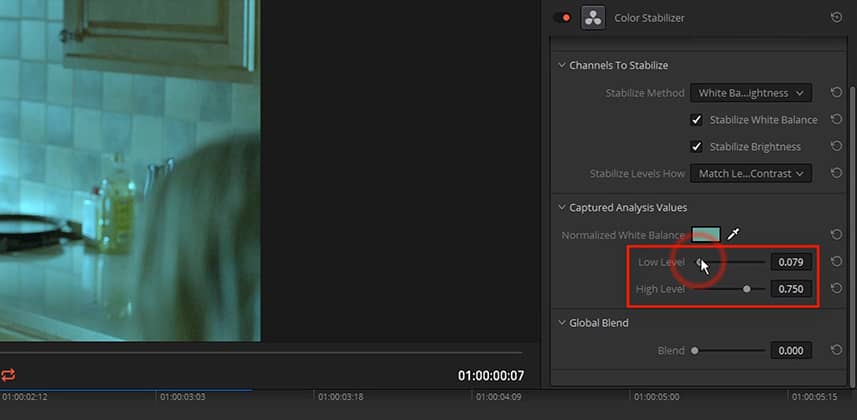
Resolve 14 New Features: Color Stabilizer and Timelapse Deflicker
As I mentioned in my first post on this topic, Team Mixing Light asked me to pull two movies from my soon-to-be-released What’s New In DaVinci Resolve 14? title. It’s a title designed for existing Resolve users who want to get up-to-speed in the minimum time possible. The movie I pulled for this Insight covers a topic that every DaVinci Resolve user will love, because this new feature helps you solve a very common problem: Fixing exposure bumps using the Color Stabilizer ResolveFX – and avoiding keyframes in the process.
How To Use The ResolveFX Color Stabilizer
The Color Stabilizer is designed to smooth out exposure and/or color temperature bumps. The key to using this effect is identifying a target frame. This defines a ‘good’ frame, and the effect will try to keep exposure and color balance matched to it throughout. In this Insight, you’ll learn the various options for tweaking the effect to get the best results for different exposure problems.
I’ll also explain why the location of the effect in your node tree can make a big difference in how effective it is. After learning how to use Color Stabilizer, you’ll also learn how to use its ‘sister’ effect, Timelapse Deflicker.
Timelapse Deflicker also tries to tame ‘exposure bumps’ – but differently
Once you know how to use the Color Stabilizer, the Timelapse Deflicker is easy to understand. That effect tries to do the same thing… smooth out exposure bumps – but isn’t as aggressive.
Member Content
Sorry... the rest of this content is for members only. You'll need to login or Join Now to continue (we hope you do!).
Need more information about our memberships? Click to learn more.
Membership optionsMember Login


