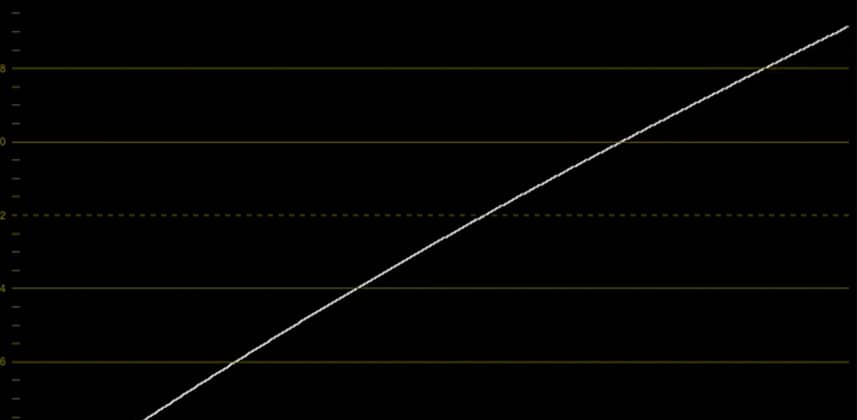
In this Insight, we’re taking a look at some great new controls in Resolve 11 called the highlight and shadow controls. They can be found under the color match tab in the new version and provide new creative options when it comes to setting and matching the contrast of your footage. In theory, the Highlights and Shadows controls don’t do anything “new” and by that I mean that we could still achieve the same results using tools like the curves or using lift gamma and gain controls.
What they do allow us to do is get a very filmic and natural result very very quickly!
How Do They Work?
The two sliders apply a pre-determined curve to your image bringing down the highlights and lifting the shadows in a very natural way. This is something you will need to play with on multiple shots to get a feeling of how it works best for you.
When Should I Use Them?
I find these controls work best on shots that are inside but have lots of natural bright light. The curve that they apply takes the image down to a point where we have recovered as much detail as possible but not pushed the highlights so low that they have turned grey.
Very useful indeed!
Please try them out for yourself and see where they work best for you!
– Dan
Member Content
Sorry... the rest of this content is for members only. You'll need to login or Join Now to continue (we hope you do!).
Need more information about our memberships? Click to learn more.
Membership optionsMember Login


