| Series |
|---|
Fixing It In Post—RAW Thought Experiments: Part 2
Note: This Insight assumes you’ve watched Part 1 of this series.
While I was setting up to figure out if the RAW Exposure slider in DaVinci Resolve 11 accurately reflects what happens when we manually adjust the iris at the camera, it was natural to set up the same experiment with differing ISOs. In other words, if the DP sets the wrong ISO on-set, are our RAW controls accurate representations of what would have happened if he set them properly in-camera? Or are our contrls merely cheating it?
Let’s start by defining ISO.
ISO is a measure of sensitivity to light
Over on Nikon’s website they introduce ISO in part:
With today’s digital cameras you can sometimes [set your ISO] as low as 50 or as high as 204,800. The number chosen has two important qualities associated with it. First, it sets the amount of light needed for a good exposure. The lower the number, the more light required . . .
The other important quality tied to ISO is the amount of noise in the image . . . In digital cameras, raising the ISO means a similar decrease in quality, with an increase in what’s called “noise.” It’s the digital equivalent of grain and results in a sort of “chunky” look to the image.
I’m asking: Can in-camera ISO changes can be accurately ‘fixed in post’? If so, how accurate are we?
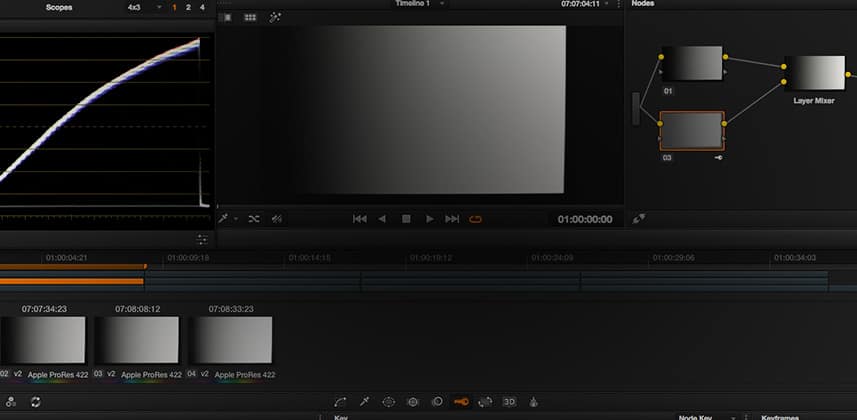
In this case, I’m using DaVinci Resolve 11. And as we did in Part 1, I’m specifically testing the RAW controls for CinemaDNG as recorded by the Blackmagic Pocket Camera. While we can’t definitively extrapolate our results to other cameras, it’ll at least get us in the ballpark of what we might expect for other digital cameras.
Summarizing my thoughts and conclusions I have about this Insight:
- CinemaDNG ISO on Resolve: ISO and Exposure are precisely the same.
- DaVinci Resolve 12: I’ve tested this in Resolve 12, which adds an ISO option. Flipping ISO up or down is precisely the same as moving up or down whole number increments in the Exposure box. Nothing I show in this Insight has changed in Resolve 12, other than the convenient pull-down for quick ISO changes.
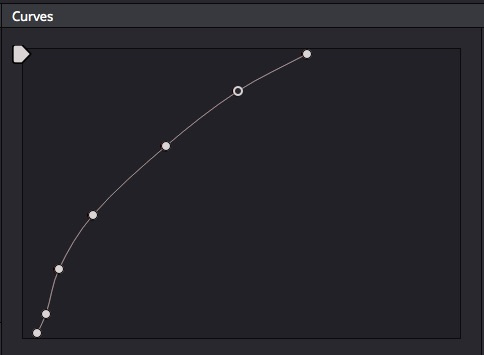
- It’s very difficult to replicate Exposure and ISO changes on Log-recorded ProRes versus using the RAW exposure / ISO controls on DNG files. In other words, recording RAW does allow you to replicate in-camera options. As a test, here’s a Custom Curve I wrote to mimic a +3 ISO change on a ProRes (not RAW) BMDFilm-recorded file (in Resolve 12)… there’s no writing a curve like this based on a guess or intuition—RAW has its benefits:
- FilmConvert 2.0 was an unexpected hero but remember – after watching this Insight – when we compare the FilmConvert exposure change of a ProRes file with a real ISO change recorded to ProRes? The difference may seem small on a grayscale—but on some images those two different curves will generate VERY different final images. FilmConvert gets close—but sometimes close isn’t close enough.
- Not familiar with FilmConvert? We have Insights on an earlier version of the OpenFx plug-in FilmConvert.
– pat
Member Content
Sorry... the rest of this content is for members only. You'll need to login or Join Now to continue (we hope you do!).
Need more information about our memberships? Click to learn more.
Membership optionsMember Login
