| Series |
|---|
Ideas on color correcting RAW footage
Conclusions in our Series on using RAW controls in DaVinci Resolve
In two previous Insights, we’ve looked at the difference between changing exposure in-camera vs. post-production and then doing the same with ISO.
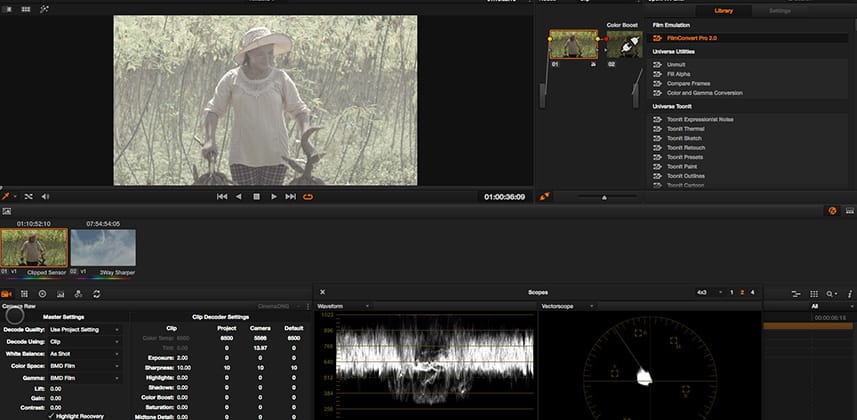
To wrap up this rather clinical look at how our tools work, I spent a few days running through the reams of RAW footage I have from past jobs trying to come up with some concrete ideas on color correcting RAW footage using Camera Raw controls. You’ll often find colorists have some very definite opinions on which set of tools you should use.
Me, personally? I swing both ways.
I like Raw controls when they work. I don’t like Raw controls when they don’t work.
Pragmatic, right? But not very useful if you’re new to color grading and want some more solid advice. After a few days thinking specifically about advice to pass on to the ‘next generation’…
You’re about to learn 3 Guidelines for color correcting RAW footage, when using Raw controls
In this video Insight, I call them ‘Rules’… and one of them most certainly is a ‘hard and fast’ rule. But collectively, I’m more comfortable teaching them to you as Guidelines. If you want to use Raw controls for color correcting your images, then follow these guidelines to maximize the difference between grading with Raw controls versus the full set of controls offered by DaVinci Resolve.
I always recommend attempting both ‘Raw only’ grading and ‘Traditional’ grading on a project
The key to being a colorist clients like working with is getting them to their end result, fast. You’ll usually find that one approach will get you where your client wants to go more quickly than the other; except you’ll never know which is the fastest approach on a specific job until you try them both on some key shots.
Go ahead, try taking some time at the start of a job using just the Raw controls. Compare those same shots to your results using the 3-Way or Curves controls. Pick the approach that gets you where you want with the least amount of effort… and then commit to that approach.
Watch the video Insight below to learn my 3 Guidelines for grading with Raw controls (in Resolve)
— pat
Member Content
Sorry... the rest of this content is for members only. You'll need to login or Join Now to continue (we hope you do!).
Need more information about our memberships? Click to learn more.
Membership optionsMember Login