| Series |
|---|
Understanding the Virtual LUT workflow in the free CalMAN Color Checker and Lightspace CMS
Imagine for a moment that you’ve profiled your color correction reference display and it’s borderline, whether you should re-calibrate or not? Maybe you’re short on time or maybe your display has drifted a little since your last full-blown calibration… but you’re just not sure if you should bother with a full calibration. Wouldn’t it be useful if you could create a temporary LUT (or Virtual LUT) that will allow you to determine if a full calibration is worth your effort?
Learn how to create Virtual LUTs to help you decide if a full calibration is worth the effort
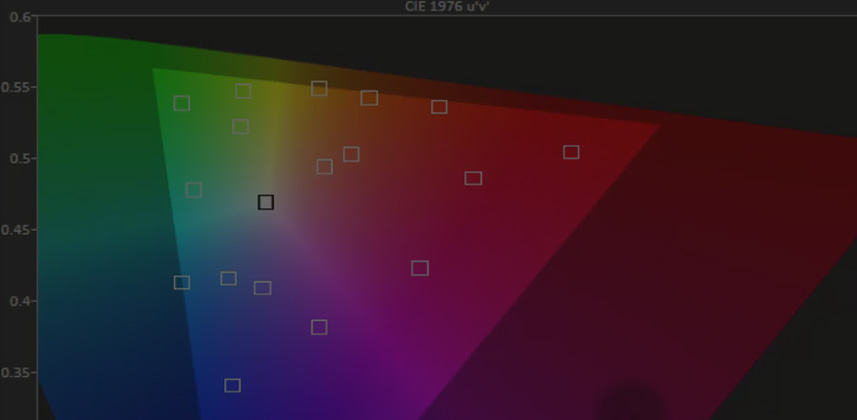
In this video Insight, we’re going to continue with the CalMAN Color Checker workflow from where I left off in the ‘Getting Started with CalMAN’ Insight. The next step in that workflow is to create a Virtual LUT, using their ‘Lightening Calibration’ to do a quick characterization of the display in its normal viewing setting… for the purpose of generating a new 3D LUT.
After creating this 3D LUT, CalMAN will re-profile the display with this new 3D LUT applied to its readings. In theory, this re-profiling will allow you to see if there will be any improvement in your display with a re-calibration.
CalMAN calls this a Virtual LUT since it’s not actually applied to the display
Instead, CalMAN is simulating what might happen if the LUT were uploaded to the reference monitor. And since this is the free version of CalMAN, you can’t export this LUT for actual use. With the free version of CalMAN, all you can do is use this Virtual LUT to decide if you want to call in a professional calibrator who has software that can export LUTs—or maybe you’ll decide to purchase a license that unlocks this feature.
We can perform this exact same Virtual LUTs workflow in the free Lightspace CMS
Unlike in CalMAN – it’s a manual operation that you’re unlikely to stumble upon if you didn’t already know it was there. I kind’a move through this quickly in this Insight so here’s the steps you’ll follow in Lightspace:
- Do a normal Profile and name the Profile something you’ll remember
- Go into ‘Convert Colour Space’
- In Source, select your desired color space (EBU TEC3320 for Rec 709, Gamma 2.4)
- In Destination, select the Profile you just ran
- Give this a name you’ll remember (and append it LUT, since you’re creating a LUT here)
- Press ‘Create New’
At this point, you’ve created a temporary LUT (which is lost when you quit the software)
Remember, we’re working with Lightspace CMS and in this free software, you can save or export LUTs. But we’ve now done in Lightspace what we did in CalMAN Color Checker… we’ve created our Virtual LUT.
Now, you’ll back to perform another Quick Profile – but this time with the Virtual LUT selected in the ‘Active LUT’ pull-down menu. Just like in CalMAN, the Quick Profile you perform will take into account the Virtual LUT and give you an indication if a full-blown calibration is likely to improve your results?
You can ‘kick-up’ this workflow by bypassing in-line 3D LUTs
If you own a reference display that uses built-in 3D LUTs (like our good friends at Flanders Scientific), or if you have a LUT box feeding your display (like you might have for a Sony) then you can get more accurate results by bypassing those LUTs.
In CalMAN Color Checker:
- Bypass your display’s LUT after you’ve done your initial ‘Color Checker Analysis’ but before you press the ‘Read Series’ button on the ‘Create Virtual 3D LUT’ page.
In Lightspace:
- Do a Quick Profile with the LUT enabled. Save by closing out the Profile panel (this will save your Quick Profile).
- Now, bypass your LUT and do another Quick Profile (named differently than the previous… maybe call it ‘Wide Gamut’)
- Create your Virtual LUT using your ‘Wide Gamut’ profile
- Do your final Quick Profile with the Virtual LUT applied
- Compare the results to your first Quick Profile
This should give your ‘Virtual’ workflow a little better real-world results.
Coming Up Next: Wrapping it up
Note: If you’re having a problem finding the other Insights in this series, at the top of this page—below the large graphic—is a listing of all the Insights in this series, in order.
The next Insight in this series should wrap up the Display Profiling 101 series. This is the foundation upon which we’ll be building our Reference Display Calibration 102 series so it’s really important that you understand what we’ve done here. If you have any questions, just ask. And if you ask in the initial 3 days after this Insight is released, I’ll probably also answer your questions on-camera.
Enjoy the video!
-pi
Member Content
Sorry... the rest of this content is for members only. You'll need to login or Join Now to continue (we hope you do!).
Need more information about our memberships? Click to learn more.
Membership optionsMember Login
-
Are You Wasting Time Using Low Cost Colorimeters and Spectroradiometers?
-
Top Calibration and Display Setup Questions (with Bram Desmet)
-
How to Create a Virtual LUT (and what it’s good for)
-
Optimizing for CalMAN: The i1 Display Pro and SpectraCal C6 for CalMAN
-
Getting Started with CalMAN’s Colormatch Workflow
-
Custom Offsets with the i1 Display Pro OEM in Lightspace DPS
-
Optimizing the i1 Display Pro OEM for Lightspace
-
Graphs in Lightspace DPS: Reading your Profile Results
View All